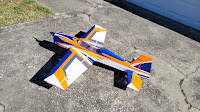
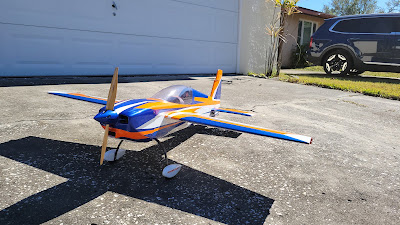
I've had a blast with my 48" Skywing Extra NG PNP, so when the new color scheme came out, I had to have one. The PNP went together super easy, so I figured the Skywing 48" Extra NG ARF shouldn't take much more work, and it didn't. As it turns out, it was even easier than I thought.
The ARFThe servos also came from my Slick PNP, so they dropped right in and there were no issues there either. I did make one set up change by using the servo arms from the power systems/servo package. The ailerons were just a touch too fast, and using a shorter arm allowed me to max my end points, gut full resolution, and the 31 degrees I like. As far as set up deviation, that's all we did.
The most stressful part of the whole build was putting the tail on, but this is made easy with the self aligning stab. You slide it all the way forward and it goes in straight. It was an astonishingly perfect fit. It fit in so snug there was no danger of moving it while measuring. While you do not have to measure it, I always recommend that. I've build probably 25-30 planes with this feature and only once did it require a small adjustment.
Click to enlarge
The wheel pants were a little tricky to line up and drill, but all it took was a little patience. It would be a nice upgrade if they were pre-drilled. The way it is you have to eyeball it and drill, and not everyone has an eye for that. If you screw it up, just plug the hole with a toothpick and CA, then drill again.
The tailwheel is what gives a lot of guys problems, but the hole for the pin in the rudder is already drilled and threaded. You simply test fit, glue and forget about it. The mounting holes for the tailwheel bracket were also pre-drilled, which is nice because tailwheel assemblies are one of the things that give new guys a little trouble. The tailwheel assembly itself is already finished, complete with a flat spot on the wire there the grub nut sits, and ready to simply bolt on.
Skywing left next to nothing for us to get wrong, though I always encourage new guys to get some good help from one of the 3D fliers in their club. In general, another satisfying Skywing project. It went together really fast and looks terrific.
I don't expect this plane to fly any different from my other Extra because it's just a color scheme, but for those who can't wait we've got plenty of video of the old one. I'm try to get out tomorrow and either tag new video on to this report or just do a separate report.


