Doc's Edit: This was originally a LIVE report, but we have since finished it. Instead of including a flying section we saved that for another article which will appear later tonight on the blog.
LIVE!
Since this is a new release and people want the info quickly, this will initially be a live report that I will update as progress allows.
The Yak Company
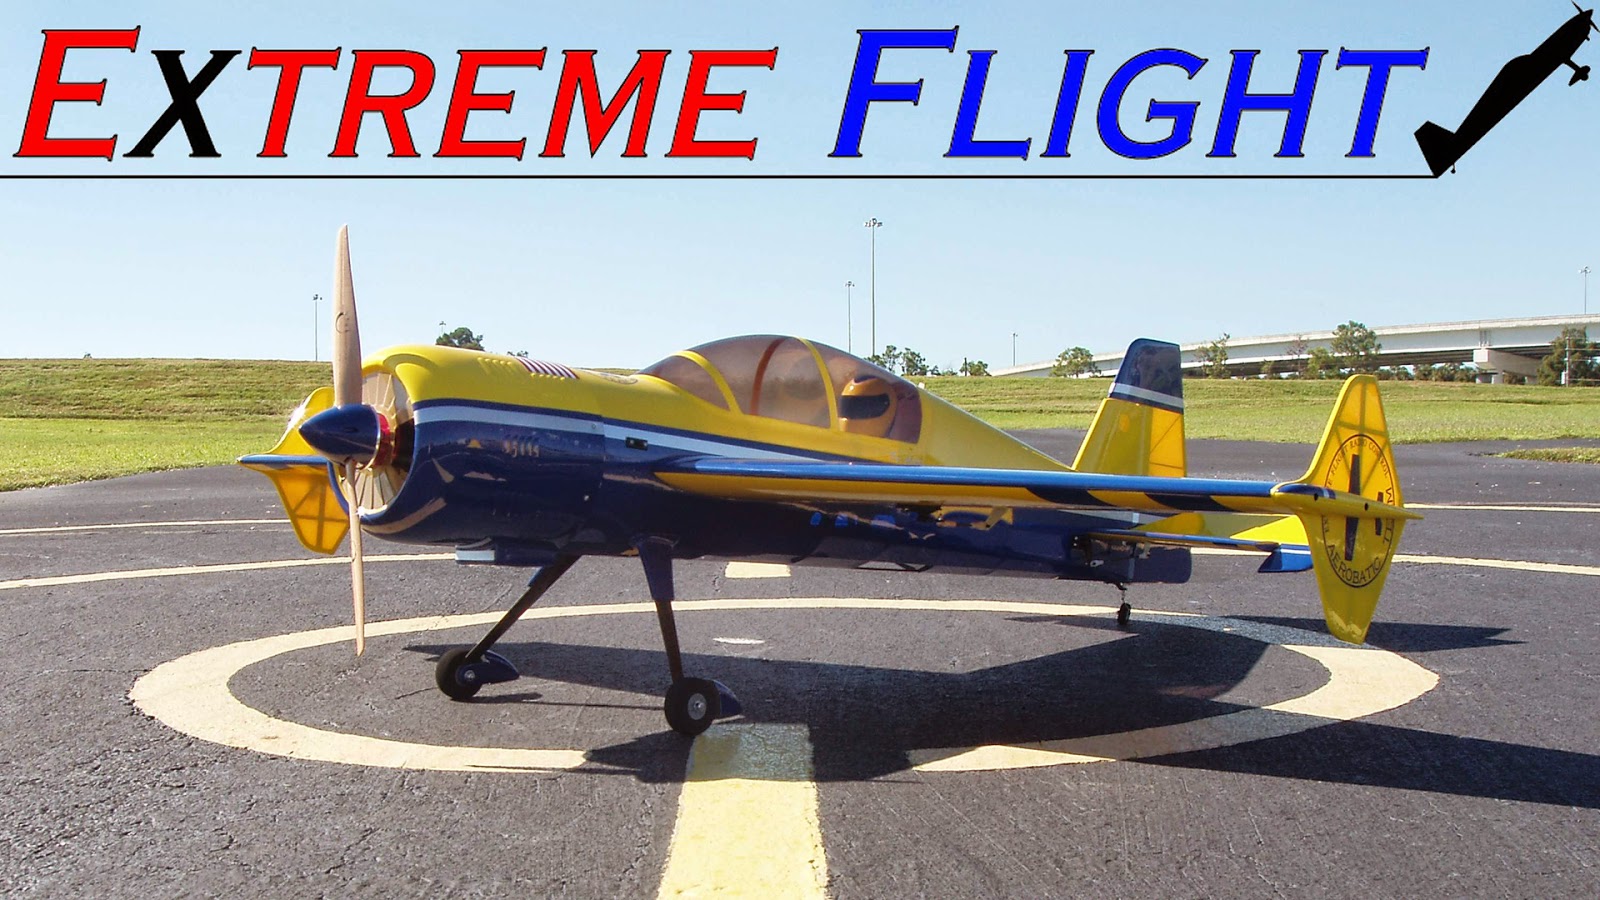
Virtually no one was surprised when the Extreme Flight 60" Yak 54 EXP was announced. If anything, some of us were surprised that it was not the very first 60" EXP. After all, Extreme Flight has long been known as "The Yak Company," and that tradition continues with the newest jewel in the EXP lineup.
The Yaks go back a long ways at Extreme Flight. Along with the Extreme Flight 45" series Extra and Edge, the original 48" Yak 54 was a ground breaking design that launched the 45-48" high quality, high performance class of electric airplane. There have been plenty of other Extreme Flight Yaks, and in many different sizes, too.
I was just starting 3D when the original Extreme Flight 48" Yak was being phased out of production. The last of the original 48"Yaks were closed out, and they went so quickly that I was simply caught snoozing and missed out. I have since flown a few and really enjoyed them, but that just made the wait for the Yak EXP seem even longer. However, it was certainly worth it because that plane has been an utter blast for me. Of course, with the 48" EXP being so good, that just made the wait for the 60" Yak seem like an eternity too!
The New ride
Having jumped from the 48" size to the 60" size of the Extra, Edge and MXS, I already knew ahead of time that the larger class airframes are smoother, more stable, more solid and more precise. It seems like whatever any 48" does well, the 60" does with considerably more grace and ease. An extra 12" of wingspan might not sound like a lot, but the difference in the quality of flight is quite quantum.
With the wing and stab on the thrust line, the Yak rolls, snaps and spins in a truly pure straight line. I appreciated this trait in the 48" Yak right away and have spent the last year and a half thoroughly enjoying these planes. Since I have hundreds and hundreds of flights on the little Yaks, I had a good idea of what to expect from the 60", but as has been the case with the other 60" examples, I was still surprised by just how much of an improvement was to be had simply by stepping up just that one extra foot in wingspan.
As you can see, this is one very attractive airplane. Like other EXPs it is very large for it's wingspan, but not as humongous as the Laser EXP. I had never been especially fond of the round fuselage look, but the little Yak EXP has been so much fun that I grew to really appreciate it's appearance. The Yak is a bit odd looking, but the flying has been so grand that it did not take long to get over that and start digging it's unique styling. Form follows function, and if it flies good, it looks good.
The new Yak is available in a highly stylized and modernized version of the classic Russian Thunder, and a yellow and blue that is very reminiscent of the classic Extreme Flight yellow and black. Back in the dark ages when I covered my own planes, yellow and blue was kind of my thing, so that's what I went with for my Yak.
As of this writing I am expecting my Yak to arrive tomorrow evening. The photos in this section are not of my plane, but ones I snicked off The RC Groups 60" Yak thread. I'll get some glamor shots of my Yak posted here later in the article.
The Kit
This is a typical Extreme Flight kit. We have had it so good for so long with these quality ARFs that sometimes it is easy to forget how difficult it used to be to build a good flying plane. Computer aided design, laser cutting and jig building makes a much better built airframe than almost any of us could produce from a wood kit only a few short years ago, though I still can't figure out how they do such a sweet job with the covering.
Of course, I had to touch up a few seams and corners, but for the most part it was pretty close to a perfect covering job. Again, extremely well done.
Like the other newer EXPs, the Yak uses advanced construction techniques like recessed wings and angled motor box sides. We are seeing less and less composites in these planes, but with the new construction techniques those are also less and less necessary to achieve the desired strength and low weight. The EXPs are simply better designed, better engineered and superbly executed airframes, and each successive release seems to be better than the last.
The Yak uses the same hardware pack as the rest of the 60" fleet. It is all top quality, proven stuff, and it is is always nice to work with equipment I am so familiar with. The ball link hardware is very smooth and easy to work with. Control horns are the same as found on the other EXPs and made from G10 composite material. Included is the most excellent Extreme Flight EXP Carbon tail wheel bracket and assembly, as well as low bounce main wheels and aluminum axles.
The hardware is all bagged and tagged separately, which helps keep you from using the wrong push rod on the wrong surface! Everything is labeled so it is hard to go wrong.
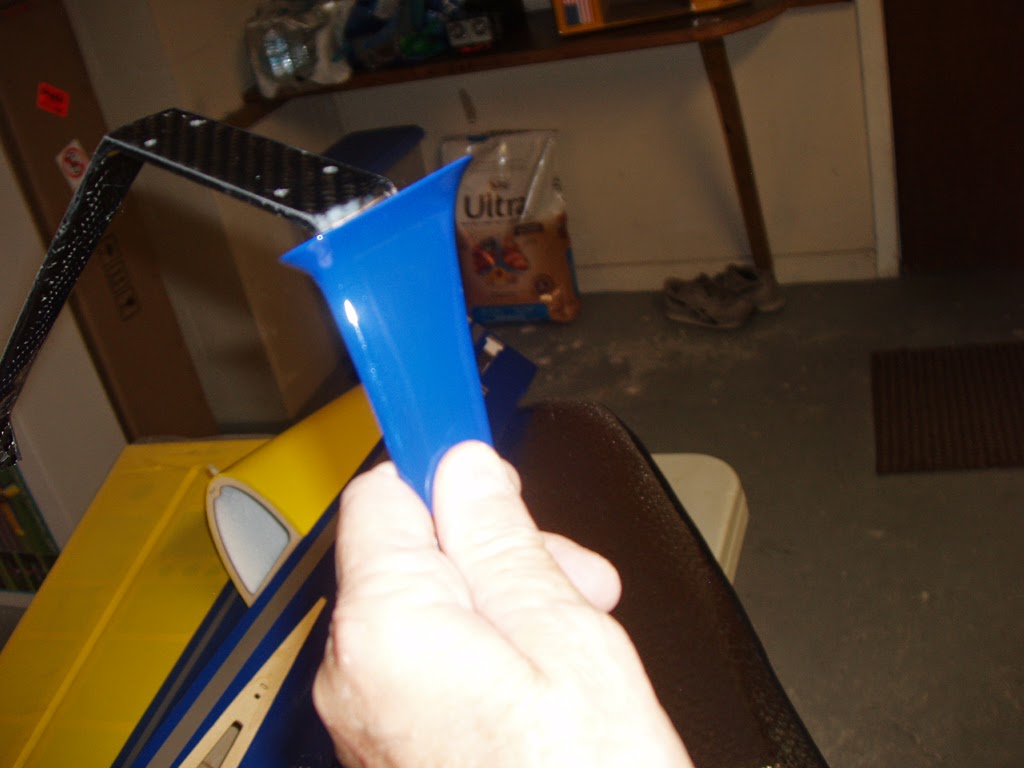
New for this plane are fiberglass landing gear leg covers. They fit nice and look good, but I have not seen anything in the manual about how to attach them. I need to sit down with the manual and go over it real slow to see what I am missing, but it looks like you probably glue the on with medium CA after the gear is on.
All of the hardware is very familiar, though the Yak wheel pants are still pretty bizarre.
As usual, I use every piece of hardware that comes in the box with the exception that I replace the bolts and screws with allen head bolts and screws, simply because I prefer the way they look. That, and I've got some really sweet Losi allen driver tools.
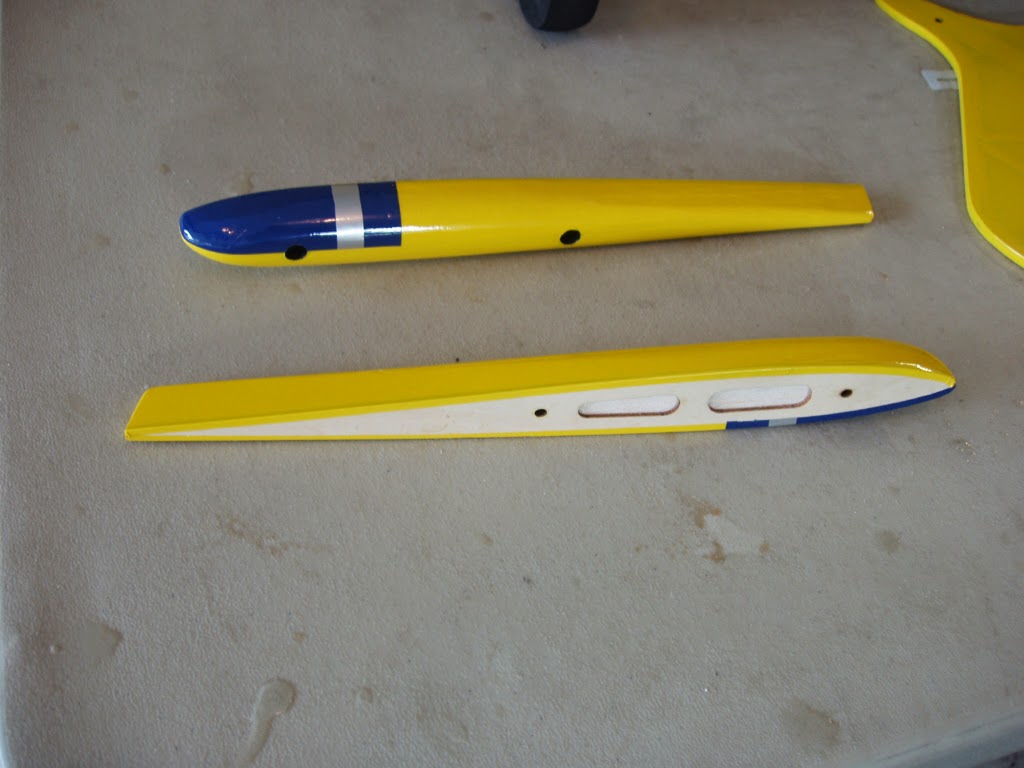
Something new for the 60" Yak are the wing tips. These are nicely made from wood and covered with Ultrakote. You can use them with the SFGS because they look cool, use them without the SFGs for a more scale look, or simply don't use them at all. Some customers were requesting a more scale wing tip for the Yak, and this arrangement very neatly accommodates just about everyone.
I do have to admit the Yak looks really smokin' with just the wing tips, but I love what SFGs do for flight performance. The tips are not really large enough to effect flight like the MXS tips are, but they do look a lot sharper than just bare SFGs. The best part is you get to choose! Personally I like the appearance of the tips and the performance improvement provided by the SFGs, so I use them both.
The Build
Once you have built a few EXPs, none of them offer up any surprises. Previously the factory used what appeared to be a soldering iron to burn the covering away from the servo openings, but on the Yak they now hand cut them. It's a much neater job, which always makes happy. Sometimes the soldering cuts could be a little sloppy, but the openings on this plane were perfect.
I've built a 60 Edge and two 64" MXS, and could only get about 65 degrees of elevator. I'm not sure what
the Boss did differently on this one, but as you can see now it's no problem to get the massive 88 degrees like we do on the 48s. About the only problem would be getting a long enough arm. With a standard Hitec PN55709 arm, I'm getting close to 70 degrees or so, but I will have to measure it later. I just used the outer hole on the arm and maxxed my travel. Generally you don't want your 60" planes to be as violent as a 48, and they seem to pitch fine with less throw. I'm going to try it like this and I am sure it will be fine. My other 60 size plane are fine with a little less elevator, but it's nice I can get more if I want it.
Geodetic construction continues to run rampant in the EXP series. The SFGs are beautiful. I have experimented with recovering SFGs in lighter colors, and the yellow definitely helps you maintain visual orientation of the plane. If these came in blue, I would have probably recovered them in yellow, but they are great the way they are.
The cowling as a bit more of a pain than I was expecting. The cooling holes do onto come cut out from the factory, which allows you to customize things like your esc position and cut the holes appropriate to direct air when you want it.
Using the straight line on the front of the cowling and a small straight edge steel ruler, I drew the cutout with a sharpie, but be forewarned it will stain the yellow paint, so be careful. I suppose I could have used pencils, but wifey is out of town and I don't know where she keeps them! From there I used a dremel cutting disc and followed the lines I drew. I touched it up and did the corners with a small dremel sanding drum. From there I used 3M high performance vinyl on the front, but I plan to replace that later when I get a B and E Graphics simulated radial engine decal made up. Right now I just want to get it in the air.


I love the scale oil cooler under the cowling of these Yaks. However, they do look a little odd with no air opening in the front. You can simulate an opening by using low heat to apply a piece of black covering. On mine I cut out a strip of silver 3M high performance vinyl, peeled off the backing and stuck it on. It takes all of a minute for the whole procedure but I think it look much better like this. It is little touches like this, touches most people don't even realize are there, that will set you plane apart from your buddy's EXP, so it is definitely worth the effort.
To install the landing gear leg covers, I scraped the glue off the back side of them as glued them straight onto the carbon landing gear legs. I could not figure out another way to do it, but at least it to seems to have worked! They looks terrific.
A few things were a bit different on this one but nothing caught me by surprise. I was not building very well so I slowed way down and simply took my time and enjoyed myself. In the end I think the plane looks pretty spectacular. I'm having some vinyl decals made up for it, but I'm still going to go fairly minimal on the the graphics.
Once you get the tail on, control surfaces hinged, and control horns glued in, just about everything else can be unbolted and redone if you get it wrong. Once you have done a few they become silly easy, and if anything it is more entertainment than work. If you are new to building balsa, get an experienced friend help you put the tail on and hinge your first few builds. Like I say, if you screw it up from there you can usually unbolt whatever you got wrong and start over.
Mostly everything went like it would have on a 60" Edge or Extra, or even the 48" Yak, so there was nothing foreign on this build for me. I've built a lot of EXPs so I almost knew what to expect from this ARF before I opened the box. It pretty much builds like the 48".
Radio Installation
The Boss has all this stuff thought out for us in advance. I put the receiver on the little tray behind the wing tube, and this allows me to plug the aileron servos straight into the receiver with no extensions. By also running the wire from the ESC under the battery tray, this keeps all the wiring under or behind the battery tray, and out of the way when you change out the pack. It really pays off to keep things neat and tidy here.
For Futaba users, you have to think out your antenna installation carefully so you keep them away from the carbon wing tube, but as you can see, it was not that big of a deal. I use clear plastic tubes that I get from the LHS. I rough them up with an emery board and CA them where I want them to go. Let those dry over night or you risk gluing your antenna into the tube!
Battery Compartment and CG
I dropped the battery right here so I could set up the radio, and when the plane was finished, I picked it up on the CG with my fingertips to check and it was perfect! I'm going to tinker with it some, for sure, but it's nice that I have plenty of room to go forward or back if I need to.
As always, it's Thunder Power Batteries, these being 6s 3300 60C Pro Force packs. Sick power, light weight, great reliability, and two year product warranty with 50% off crash replacement policy. Life is good.
Hitec HS5245MG Servos
This will be the last plane I build with the trusty HS5245MG servos. They have been really good and the only trouble I have had with any of them was when I banged the rudder on the ground, or even outright crashed, and broke the servo casings. It's kind of hard to blame the servos for that, isn't it?
I have one set of 5245MGs that logged about 500 flights during the Torque 4016 MK.II development program, and after a cleaning and service from Hitec, they are now in my old faithful yellow zonker MXS. The 5245MG is not the ultimate servo for this size plane, nor even high performance, but they make a great reasonably priced workhorse servo that is more than adequate for most people's needs. Mine have served me really well.
As such, it is time to move up to high performance servos. We have seen so many people who are delirious with the torque and centering of the HS5245MH high voltage servos that I want to try a set of those in my next 60" plane. I have held off on HV servos because I generally don't like running a separate BEC, but using them in the 48" Edge and MXS got me a little more used to it. I am hoping that the mass exodus to HV servos will force the Boss to develop an HV Airboss, and then I will switch all my planes over.
There are rumors that the 64" MXS will be coming in yellow and blue, which I am a little weird for and will have to have one.
Set Up ... Control Linkages
Early on
The Boss found a control linkage set up that works perfectly, and it has not changed. Short, stiff push rods and dual ball links assure smooth and slop free, drag free operation, which in turn assures a smooth, precise flying airplane.
A little extra care in setting up the ball links goes a long way. I will use an Allen driver to pop the little brass ball out of the ball link, and then pop it back in. This loosens the assembly up and allows it to operate more freely and smoothly. I do this several times until the brass ball moves freely in the plastic link. Occasionally I will gently sand the outside of the link to get rid of any flash, but be careful here.
Once that is done, I use a longer Dubro 2 x 12MM bolt to secure the ball link. Here I use a 2mm locking nut that I get from Micro Fasteners, and then I jam nut a regular 2mm nut (which comes with the kit) on top of that. I tighten the assembly as tight as I can get it without introducing any drag into the ball link. this way you get a smooth, slop free connection that has no drag. A drop of silicone oil in the little brass ball helps a lot too.
This assembly will never come apart, and there are still enough threads sticking out to leave room for a drop of medium CA. It is still a good idea to check it every so often, but this is usually good for the lifetime of the aircraft. If you ever need to take the ball link off, simply spin the hex nut off and it will shatter the CA. It is easy to get off, but it will never, ever come off on it's own.
Ailerons
Nothing is new here. This is the exact same set up I use on my 60" Extra, Edge and MXS. One thing I have changed as of late is that I now use Hi Tec (PN55709) servo arms. These fit tighter and stay tighter than what I was using before. The plane flies better because there is less slop between the arm and the servo. Of course, a metal arm with a cinch bolt (like the SWB) is even better, and I will be getting some more of those soon.
Here you can see I used the outermost hole of the smallest arm in the PN55709 pack. This duplicates the throw used in the other 60" EXPs, though the yak is going to roll a little faster like this because with the wing and stab on the thrust line the plane has a very axial nature and rolls very easily.
Elevator
Again, nothing new. This is the longest arm from the pack, and using the outside hole. This gives you about 75 degrees of travel. After flying a 48" plane with 88 degrees of travel, 75 degrees doesn't look like much, but it is. This is the same set up I use on my other 60" birds, and they have plenty of pitch authority.
Rudder
There is only one long single arm in the pack, so I cut down one of the double arms. This way I outfit the whole plane with solid arms, and from only a single pack costing just $4.95.
I lifted the servos and arms (with the ball links still attached) straight out of my red 60" MXS, so this is the exact same set up as I used on that plane, and no so co-incidentally, on the Extra EXP. Once I find something that works so well, I make every effort to duplicate it exactly on the next project. Continuity goes a long way toward assuring success.
Set Up ... Radio Programming
Using the servo arms shown in the pictures above, I pegged out my end points and set all my expos at 75%. This is very close to what's in the manual and it works rather well. For my low rates (my radio only has two) I followed the manual, except I dialed my low ailerons back until I was getting three rolls in five seconds with full deflection. This is a good set up for precision flying and working your slow and point rolls, and consecutive rolls. On my Futaba radio that works out to 30% rate on elevator and 27% on ailerons. All of these are very, very close to the manual. Since the Boss puts so much work into these set ups, it makes sense to at least start there and then dial it in to personal preferences.
Everyone seems to like something a little different, but I found early on that I like the feel of the set up from the manual. It's very similar to what I used learning 3D to begin with, and the low rate feels very much like one of my old AMA precision pattern planes. On high rates the plane flies beautiful 3D, and on low it does very precise larger maneuvers. You kind of get two planes in one here, which is nice. To become a well rounded pilot I believe you need a reasonable mastery conventional precision maneuvers as well as good 3D. Being able to flip back and forth to the plane you need to for the job gives you a solid advantage.
Power System
Of course, as much success as I have had with the Torque 4016/500 MkII and Airboss 80 ESC, no other power system was even considered. My original system is going into it's third year, and I have confidently put it into this new Yak.
I'll be running a Xoar 16/7 prop, though I may try a Falcon later on. Whenever a new 60" EXP comes out, Xoar 16/7s tend to get a little scarce, so it is nice to have another option. The times I have tried Falcon I couldn't tell the difference either on the ground or in the air. To me the two brands seem interchangeable. Right now I could not even tell you which brand I have on my 60" MXS without looking.
FLYING
Stay tuned.