
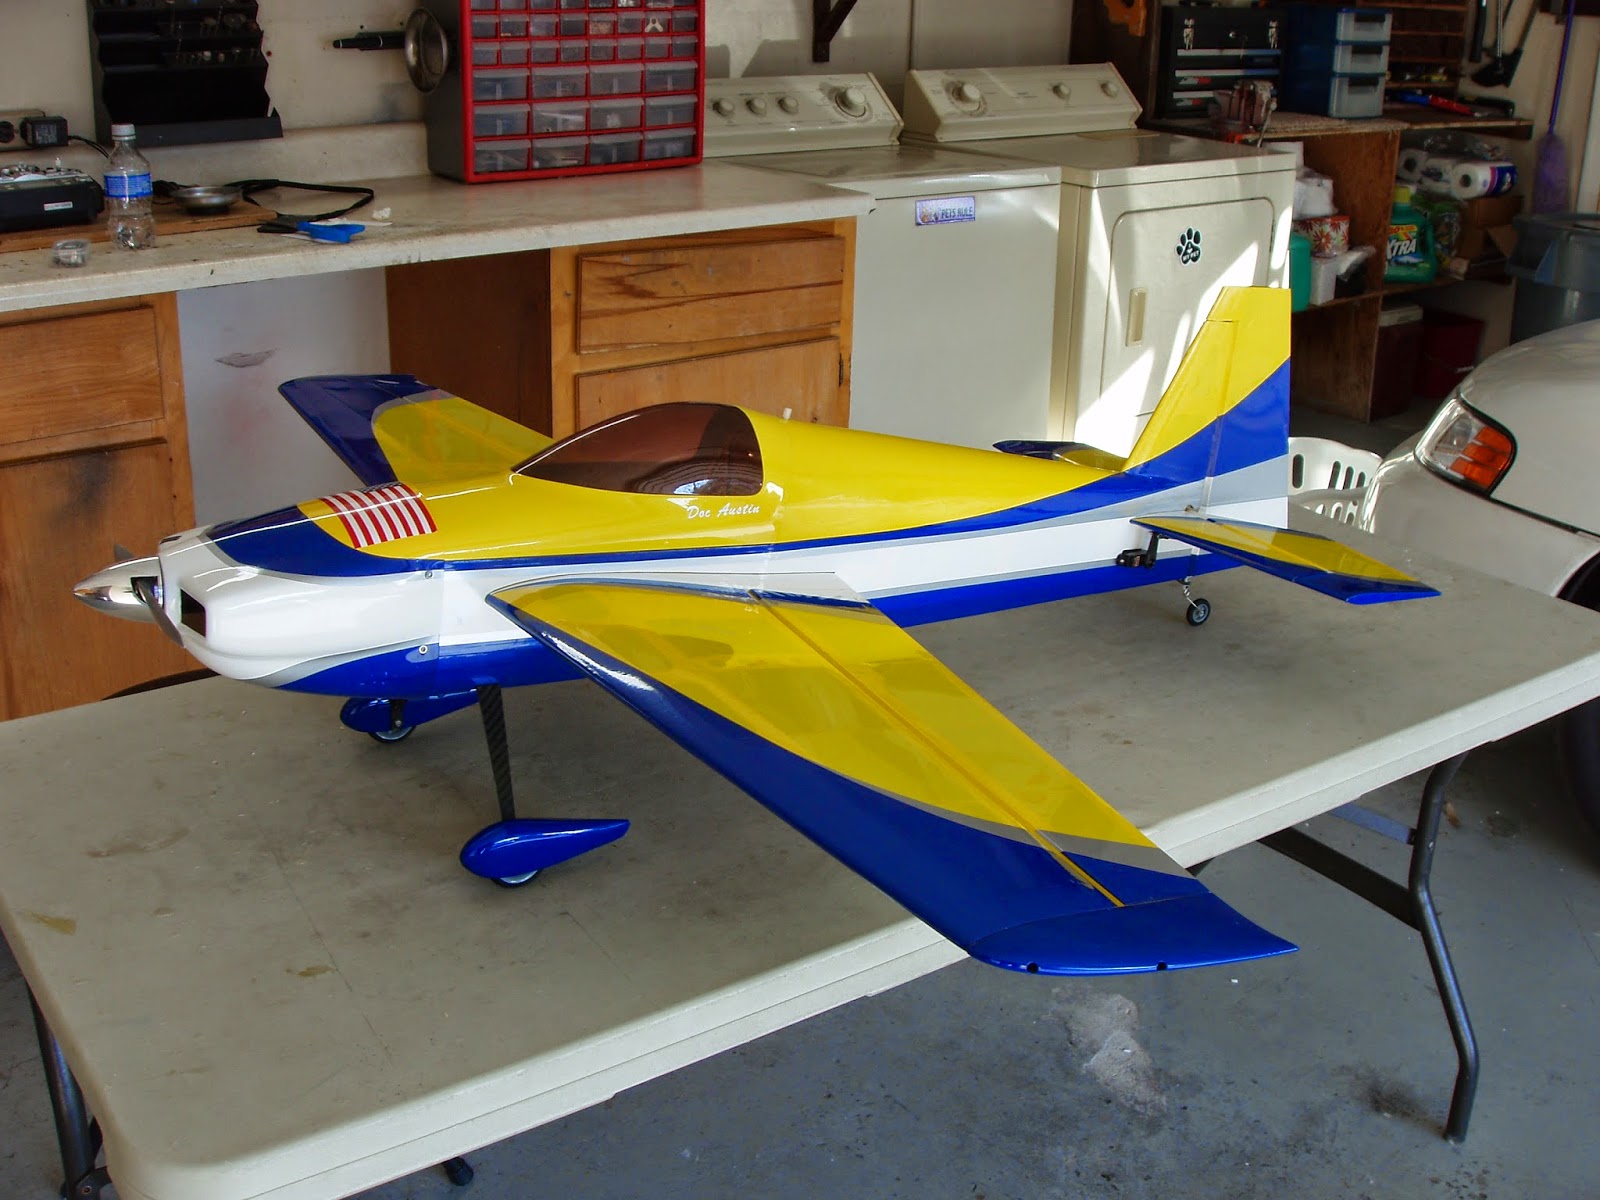
I enjoyed the Laser Sport Project so much that it made me want another yellow one of my own. With the MXS racing wingtips, I fell in love with this plane all over again. I am planning to fly the plane with and without the tips, and maybe with the tips and no SFGs because it looks so cool that way.
While I love the red Laser, it is sometimes difficult to see at SPARKS when the sun is in your face. Yellow works much better in those conditions, but if you get blinded by flying through the sun no color is going to help you.
More HV Servos
While my standard 6 volt Hitec servos are still working fine, I plan to use high voltage HS5070MH and 5087MH servos in any new 48" plane I build. All of my HS65MG and HS85MG servos are paid for, so I am going to use them up, but again, anything new gets HV servos. The standard servos work really well until you start using big deflections at high speed, and then the HV servos really come into their own. The Laser is also has a gyroscopic nature and tumbles really fell, so having more push in the control surfaces can only help that.
While building the Laser Sport, I trial fit my HS5070MH servos and they fit fine with no extra tinkering. This made it an easy decision to build my new Laser with 7.4 volt servos. I'm using the HS5070MH on the rudder and ailerons, and for the elevator I will again be using an HS5087MH. Of course, I had to cut the servo opening a bit to get the HS5087 to fit, but it's the same size case as the HS85MG. I've put HS85MGs on dozens of EXPs, so that's not a big deal.
The Build
First, you might notice how well my work area is now lit up. My friend, "The Mayor Of South Tampa" (as he is know on the collector car circuit) hooked me up with some really sweet florescent lighting. It's so much better now that I don't know how I ever put a plane together before. Thanks, Mayor!


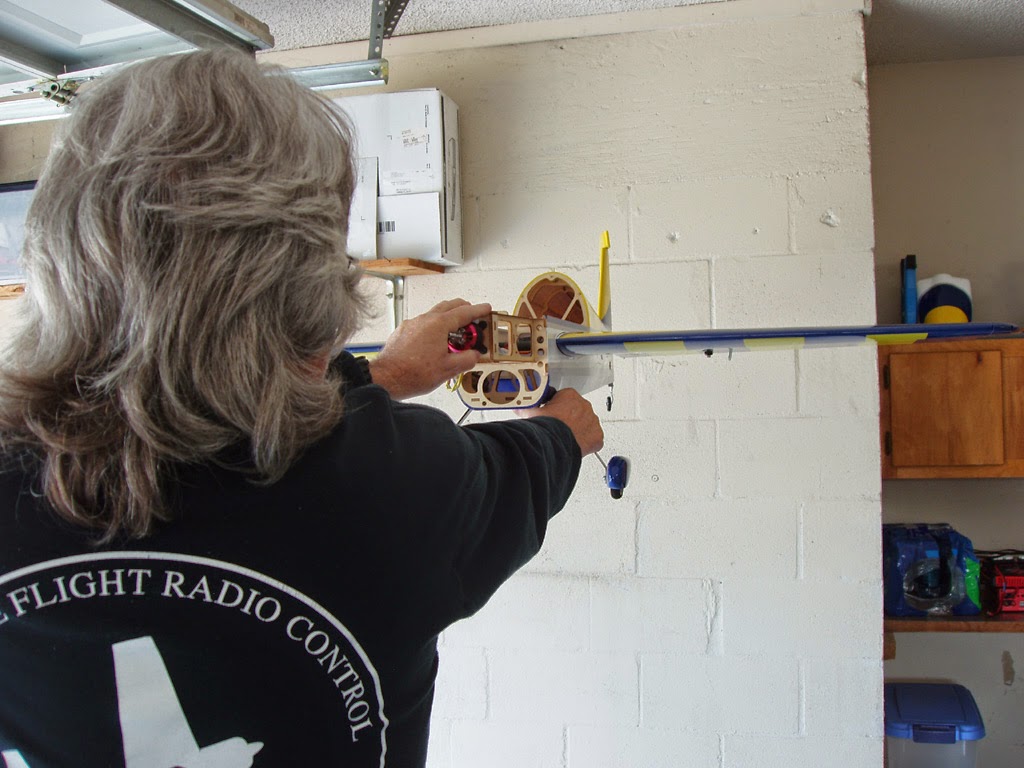
I always plan to take lots of pictures and do a bit of a build thread, but then I always get engrossed in the process and forget. This time I am going to show you how I install the horizontal stabilizer (if I remember to take the pictures, that is). I have to explain this on RCG every so often and it's not easy to do without photos.
The first thing I do is glue the hinges into the control surfaces and after those are dry I trial fit the elevator to the stab. I make sure the hinges line up and slide all the way in, and this is much easier to do before the stab is in the plane. I set the elevator aside for now and final hinge them after the stab is glued into the fuse.
Then it's time to put the stab in. I put the wings on the plane and slide the stab in, then measure it side to side to make sure it is reasonably close to centered. I'll come back and get it dead on after I check to make sure the wing and stab are parallel to each other. I hold the plane up with a solid color wall behind it because with a solid color there are no distractions in your vision that can cause an optical illusion. With nothing else in the field of view it's much easier to see if the alignment is correct or not.
Here I sight down the top of the wing (one eye closed helps) to make sure the stab sits parallel to the wing. I have only had one or two EXPs be off here, and most times it is just a matter of lightly sanding the bottom of the high side of the saddle a little until the stab sits level. If it takes more than one or two passes with an Emory board then I will cut a piece of business card about 1/8 wide and slide it under the low stab. I have never had one any further out that that, and even that much is extremely rare.
Now I measure the stab side to side again, only this time I get it dead on. I also eyeball it to get it as square with the wing as I can, but I will measure it later. From here I jam a long hat pin all the way through the rudder post (see photo) and into the back of the stab. This locks the stab in so it cannot move side to side when I square the stab to the wing. Once the pin is in, I measure again to be sure.


From here I measure from the wingtip to the stab tip, and adjust the stab as necessary to get the measurement the same on both sides. I check my side to side measurement one final time and then check the wing tip to stab tip over and over until I am satisfied it is dead on. Once that is done I hold the plane up to the wall again and make sure the stab is still parallel to the wing.

I absolutely torment myself getting this as perfect as I can possibly get it. This part and getting the hinges right are the most crucial part of the build. If you screw it up the plane is not going to fly right. Certainly you can get away with it being off a little, but nothing flies as good as a dead straight airframe. Everything else is either easy to redo or live with. If you mess up the cowl spacing it's not going to make the plane fly badly, but getting the tail crooked will.
Once I am absolutely dead solid sure the wing and stab are parallel, the stab is centered in the fuse, and also square with the wing, I run a bead of thin CA into the top of one side where the fuselage and stab meet. I let that set up for about a minute and then pull the wings, set the fuse aside and find something else to work on for about 10 minutes. Then I do the other side, wait 10 minutes, then flip it over and repeat the process on the bottom of the stab.
After about an hour all the CA has set up and it's safe to handle the plane. I pull the pin out cut out the rudder post behind the elevator. I forgot to take a picture of that, so here's one of my Yak. I cut the post out with a hobby razor saw that makes nice clean cuts, and all I do from there is seal the edges back down with a trim iron.

Now we can hinge the elevator and rudder, but I will save that for the next build log, which will probably be a 60" Laser in the same color scheme.


Pilot
One of the cool things we did in the Laser Sport report was put a pilot in the plane. This is the replacement for the pilot that comes in the FMS 50" Extra. You can get it from Motion RC part number FMS Pilot 011.

Here I mount an FMS pilot on some 3/16 balsa that I painted with Testors black dope. The balsa simply glues to the canopy frame on the inside. I had to spread the canopy open a little bit on the bottom to get the block past the canopy frame rails, so you will have to cut the block a little narrower than the inside of the canopy. I think mine was 5 and 3/4" wide. Best bet is to trial fit the block before painting or mounting the pilot. When final mounting the assembly, medium CA gave me plenty of time to slide it into place. Just make sure you let it set up for an hour and then lightly hit it with CA accelerator (kicker) before you put it on the plane. You don't want to risk it having the canopy glue itself to the fuselage!


Something about the Laser canopy really cries out for a nice pilot. The FMS pilot looks great, but it is a bit heavy. It would be great to have a nice lightweight Pilot X for 48" plane, so let's hope Extreme Flight makes one soon.
Racing Tips
The figerglass racing wingtips from the 48" MXS fit perfectly on the Laser and are a perfect match for the color scheme too. The rest of the Laser is racey enough looking that the tips look like they were actually made for this plane. As far as the effect these have on performance, I flew them extensively on a 48" Extra and you can read about that on Flying The Extra EXP With MXS Wingtips. I've also flown them on a Laser and they had much the same effect on that plane as they did on the Extra.
I'll be trying the laser with and without the tips, and probably with just the tips and now SFGs..


I also recovered the blue SFGs that came with the kit, again in yellow. You can get the decal from B and E Graphics. It's a copy of the decal that came with the red/white/dark blue 48" Yak.


Here are some experimental tips I had left over from another project. I like the looks of these because they don't visually dominate the wing tips as much as a full sized SFG.


Set Up
Nothing has changed since I last built a Laser except I am using HV servos. I use the standard arms that come with the servos everywhere except the elevator, which uses a Hitec long single arm from the #PN45509 set.


Using my customary Thunder Power 4S 2700 70C Pro Force battery, here's where it ended up. The weight of the pilot is behind the CG, so I had to move the pack forward a bit to compensate.

FLYING

Having now set up three 48s with these servos, I believe we were getting some stalling with the 6 volt servos and just got used to it. That does explain why I was burning up so many potentiometers in my servos, and hopefully that negative is a thing of the past. Better reliability will surely result from this, and that alone makes the price difference worth it.
Mostly, though, this plane is still a Laser, though a better one. All the good things I have loved about this plane are still the same, if not a little better in certain aspects. In general it seems a little crisper all the way around. It was tough to improve what we already had, but Hitec took things to the next level with these servos.
Video
We did manage to get one quick clip, but the wind was so bad that it blew the sound track completely out. For now I killed the video sound and put some music over it, but we hope to get some good video soon.


STORAGE


No comments:
Post a Comment