
There are a lot of little things going on, but none of them are big enough to make a whole article. Collectively, though, there will hopefully be a little something for everyone.
Restoring the Classic
My 60" Extra has had a difficult and interesting life. I was fortunate enough to get one of the Torque 4016/500 Mk II prototype development motors, and my instructions were to run it hard until it blew up. In spite of my best efforts, that original motor is still screaming merrily along.

The Extra, meanwhile, was starting to get a little scruffy around the edges, simply because of the wear and tear of being transported, assembled, disassembled and hung up to dry every single day, not to even mention the abuse it suffered in the air.
Last weekend I had a minor accident that damaged the rudder, so I took the opportunity to order a replacement, and some other items that were showing the stress a little. In fact, I wanted to give the whole plane a nice make over.
Hardware
I like to slow roll this plane on take off and sometimes drag the SFG, so the right one was starting to get shorter than the left one! Somehow, though, I accidentally ordered the red SFGs that go on the red Extra. I thought I would give them a try and they actually look good like that. I never liked the red spinner, but with the red SFGs it now sort of looks right. Now the plane has red on all the corners so I like that balanced look,

I also picked up some new wheel pants. The old ones are still in great shape structurally, but they are scuffed up a bit because our runway is so abrasive. I have never even landed this plane hard, but I guess maybe it's been hit with little stones and all during all the take offs and landings. Besides, nothing works as much aesthetic magic as a new set of clean, shiny wheel pants.

Decal Application Fluids and Such
If you read my Working With Vinyl Graphics blog article you will already know about Rapic Tac decal application fluid. Lately I discovered they have a line up of RC specific products called Rapid Tac RC. Apparently the guys at Rapid Tac are big RC enthusiasts. The regular garden variety Rapid Tac decal application fluid works just fine, but I wanted to try the RC product too. While I was checking out their website I saw they also make a cleaner and polish, but more about that later.

The Rapid Tac guys were nice enough to throw in a nice rubber squeegee, which seems like it's a little softer than the one I got at the graphics store. Unfortunately I misplaced it until I got all the decal work done and didn't find it until I was cleaning up. Don't worry .......... there will be plenty of time to test it out when I do the decal work on the 60" Laser.
Also in the product lineup is a nitro cleaner, which I plan to give to a friend of mine who keeps his nitro planes utterly spotless. That will be a damm good test for that product!
Using Rapid Tac RC Decal Application Fluid
I really could not tell any difference between this stuff and the commercial Rapid Tac, but that's fine. Regular old Rapid Tac works beautifully. This might even be the same stuff in a more convenient size. I honestly don't know, but I'll keep using it because it works.
The first rule of using Rapid Tac is that you can't use too much Rapid Tac. It does not attack the decal glue like Windex will. The whole idea of using Rapid Tac is to keep the decal from sticking while you are sliding it into position, and using more Rapid Tac seems to help with that. I keep the whole process pretty wet.

Next I lay the decal about where I want it to go. As you can see, this decal has "Transfer tape" or "Application tape." Since this is a text decal with every letter being a separate piece of vinyl, the tape holds it all together and aligned while you are sliding it into place. Unfortunately this type of Transfer tape is white-ish instead of clear, so you have to look hard to see if everything is lined up. The picture doesn't show it real clear, but the tape is a bit more translucent, especially once it's wet.
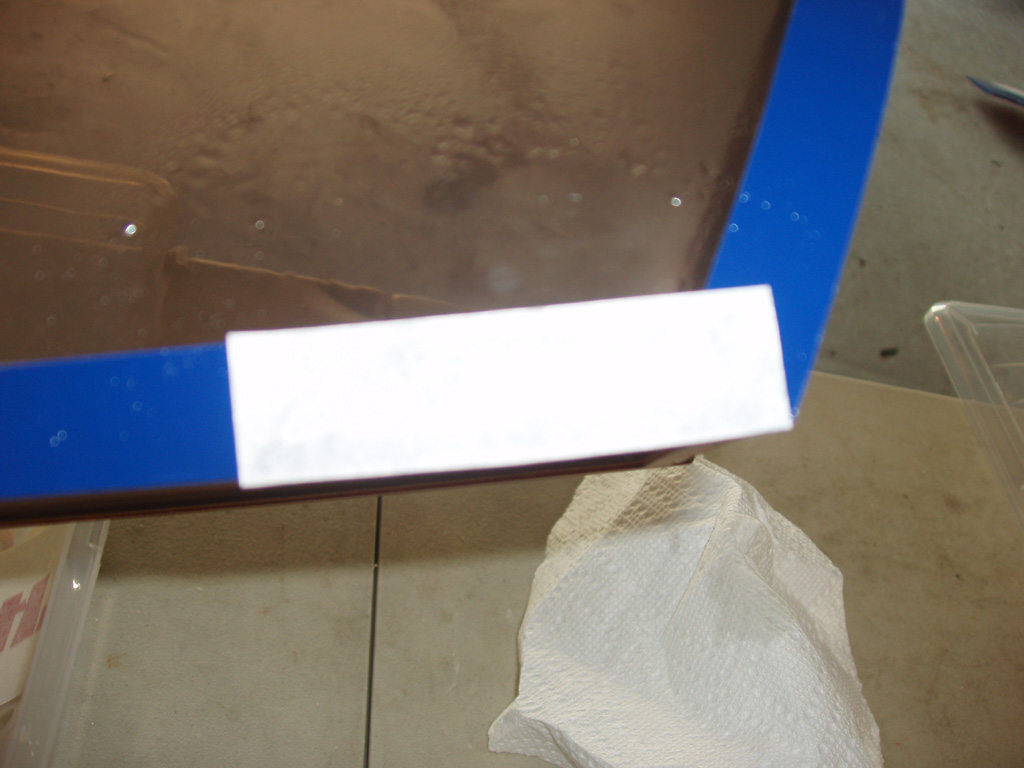
The next step is to push the decal down and force out the fluid, and sort of dry the whole thing off a little with a paper towel. Then you pull the application tape off carefully and you should have a perfectly applied decal. You might have to be careful to make sure none of the letters stick to the tape instead, so it pays to work slowly and patiently. Also, you can push the whole thing back down, spray some more Rapid Tac on the tape and it will let go easier.

Dried and cleaned up it looks pretty good and was not all that much effort. It's just good vinyl, good application fluid and a little bit of acquired skill.

Next I tried something new on the SFGs. I had a local graphics company print up some Team Extreme Flight roundels for me out of 3M High Performance Vinyl. These are a lot like the kit decals except the printing machine cuts it out when it prints it..... just peel and apply. This vinyl is also thinner and easier to work with around compound curves and such. It's nice stuff.
As always, you can't use too much Rapic Tac.

One trick I learned for squeegee-ing out air bubbles is to use gravity to help. The bubbles suspended in fluid are always going to want to go up, so that's the way I try to push them. This seems to work really, really well.

And, as you can see, the decal lays down flat with no bubbles and the edges simply disappear. You have to see this decal in person to appreciate how clean it went on. It doesn't even look like a decal. It looks like it is painted on.

Rapid Tac Cleaner and Polish
This plane is a year and a half old, has been flown hard and often, and really needed a good cleaning up. I've been cleaning my planes with a combination of things but this new cleaner and polish might be the answer to all of that. I was using Windex and/or McQuire's Final Detail, but I like this stuff much, much more. It seems to add a layer of shine to the plane and the whole thing glistens. If you compare this to photos of the plane when it was new, such as in an older article, I think you can see the plane now has a better shine to it.
Basically you spray it on, wipe it off. It works really, really nice. I wish I had bought a bigger bottle because I am going to use a lot of this stuff.

What really pleases me is that now this looks like a brand new plane again. I put a lot of work into the restoration, and some money too, so I wanted it to be nice. Nothing screams "new" like a nice shine and the cleaner polish gave me that.

Techno Stuff
OK, first of all, I am woefully unprepared to review this next item because I just got it from Thunder Power earlier today, but it's such a nice product that I did want to get a few pictures and early observations about the unit posted.
I acquired the new Thunder Power TP1527PS 12 and 24 volt power system and just today cranked it up for the first time. I only got to charge a single 4s 2700 65C pack before I ran out of time, but it gave the charger enough juice to jam the full 20 charging amps into the pack.
The unit works, it runs nice and quiet and seems to have enough power to do what I want to do. I like that it is such a simple, clean looking unit.

OK, maybe this part is a little weird, but I think it looks really nice with my matching TP820CD charger. I might just velcro the two units together. I love nice, integrated looking things.

On this end are the plugs for two chargers. There is also a cooling fan here, and a switch for setting the unit up for either 12 volt or 24 volt operation, and lights to indicate which way it's set. There are also some USB charging jacks in there, but I will have to read the owners manual to find out how to use those.

I removed the power cord to get a good picture, but you can clearly see where it plugs in. There's also an on/off switch built it and another cooling fan.

I don't really know anything about the unit except it looks good, provides power and is really quiet. The real test will be tomorrow when I take it flying and start running the poo out of it charging packs.
Finally..........
We can't have an article without a flying video, can we?
Love the queensryche. I think we have the same music catalog after watching a lot of your videos. Keep up the great work.
ReplyDelete